Sunday, March 25, 2012

Seriously? Did I Just Fry My Seeds?

So, this is the part where you laugh and say "What an Idiot!"  It slipped my mind that even though the temperature outside is mild, low 80's, that my cold frame turns into one serious OVEN!  So the truth is.. some of my seedlings fried.  My seeds were definitely mad at me.  When I opened the cold frame lid, it was like the scene from Cocoon, where the little Alien had been sucked of all its healing magic.  They were shriveled up and it looked like the end. 


I propped open the lid immediately and decided I had waited too long and needed to start transplanting.  I watered them immediately and just stared at them in shame.  The good news was I still had some survivors.  The right thing to do would be to expose the little guys to some regular wind and outside elements over a week or so, slowly exposing them just a little each day, but.... drastic times call for drastic measures.  

I decided to transplant a couple plants and evaluate them in the morning...if they make it then I will transplant most everything the following day.  I can't risk another potential heat stroke.


Luckily, the next morning, the two plants I had planted the prior day looked fine so those waiting on the transplant list got the lucky call that they too would be saved.  Only time will


I have some tomato seedlings that are growing fine, but I was told I need to get some of those big coffee cans put around them to help block the wind.  I haven't got any cans so I'm going to prop open my cold frame and keep it propped until I get the cans.  If I tried to put the tomatoes out now, I'm sure the wind would beat them down in just a few hours.  Oklahoma winds are not forgiving...only the strong shall survive.


I also planted some green beans today.  I soaked the seeds 24 hours in a coffee cup of water and then put them in the ground.  I am in need of something for them to grow on so I will have to do some research to see what works best.  

I read on the internet that I should plant petunias between my green beans.  The pests that usually bother green beans will be deterred by the petunias.  

I will have to pick some up at the store next time I'm out.


Friday, March 16, 2012

Marching Into Spring


The seeds are definitely ALIVE!  For whatever reason, the squash seems to be growing at a much faster rate than everything else.  I also noticed that the seeds I placed in the corner of the cold frame did not get as much sunlight as the other flats which has hindered their development slightly.  I have moved the flat over so it's not shadowed so much by the lid the cold frame.  I will continue to monitor their progress.  

It's only mid March here in Oklahoma and the weather is just starting to move into tornado season.  It's probably a good idea to leave these little guys safe in the cold frame for a while.  Temperatures are in the high 70's and low 80's, which is paradise compared to what we will feel in July.


I love seeing all the beautiful green colors!  
Love it! Love it! Love it!


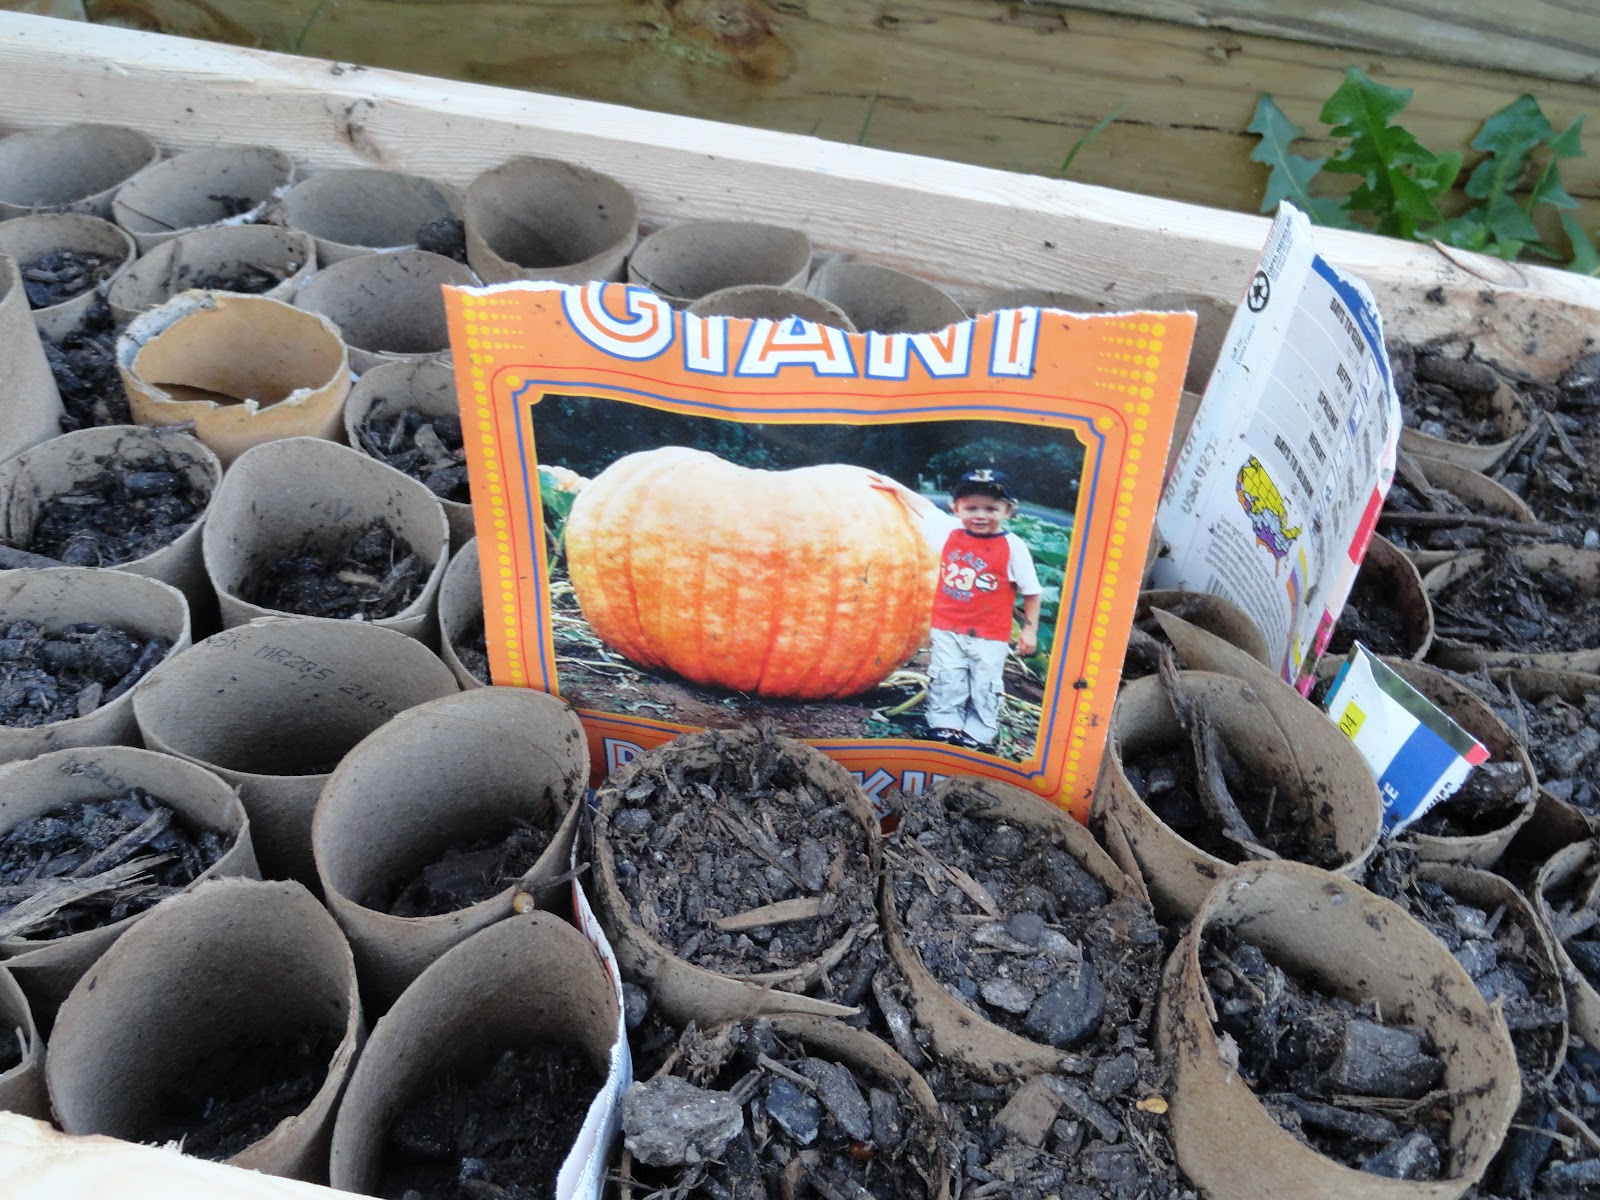
I decided to have a little fun and start some flowers and also these GIANT pumpkin seeds.  I know the marketing ploy totally worked on me but it's for fun.  It was kind of funny because the package only had like 5 seeds in it, but they were the biggest pumpkin seeds I have ever seen.  If they sprout, I will transplant them later.  I have this vision from the movie James and the Giant Peach, but instead it's me and a pumpkin.  The neighbors are going to be speechless.


It was a beautiful day so my husband tilled up the garden again for me, just to mix in the soil we brought in.  We then raked neat rows where we could plant a few things. Decided to break the rules and go ahead and plant some Okra and Corn today.  Package says our area should start in April, but what the heck, I'm a risk taker.


The mounds will settle after a rain or two and again, we are really just giving our best guess at how far apart and how large we should make our rows.  No science to this whatsoever, just one of those deals where we say...yea that looks good enough.  We did space them apart quite a ways just so we would have   plenty of room to move around later.  I'm sure all the experienced gardeners out there reading this blog are finding our inexperience quite humorous.  


I placed some small markers at the end of each row to identify what I planted.  I'm thinking to myself, I'm not going to forget what I planted here, but I know that after I've slept, that will all go out the window.  It is better to mark your rows people!  Don't be the guy or gal scratching your head saying...now what did I plant here?  Guess it will be surprise!

I can't wait to see how things will be looking in a couple weeks.  Oh the anticipation!

Saturday, February 18, 2012

Time to Seed Up

Since this is my first year attempting this and I don't have any existing seeds to reuse or soil/compost ready, I had to make a trip to the local garden center to get me going.  I originally purchased two bags of seed starting soil and a variety of seeds.  I didn't end up having enough dirt so I had to go back and get a third big bag of soil.

I realize not all of these are going to work and some were purely for fun for the kids, but I decided trying a variety of seeds wouldn't hurt.  I have plenty of room this year to make mistakes.

The biggest challenge thus far has been knowing when and what to plant exactly.  It's difficult to know when to start planting and it all depends on where you live and what God decides to do with the weather. The packages on the seeds say one thing, but living here in Oklahoma my entire life, I know the weather here is very unpredictable.  I decided the best thing to try was to plant those that indicated they need to start indoors 6 to 8 weeks early.  These would be the ones that I would put out in the cold frame.  The others will have to wait.


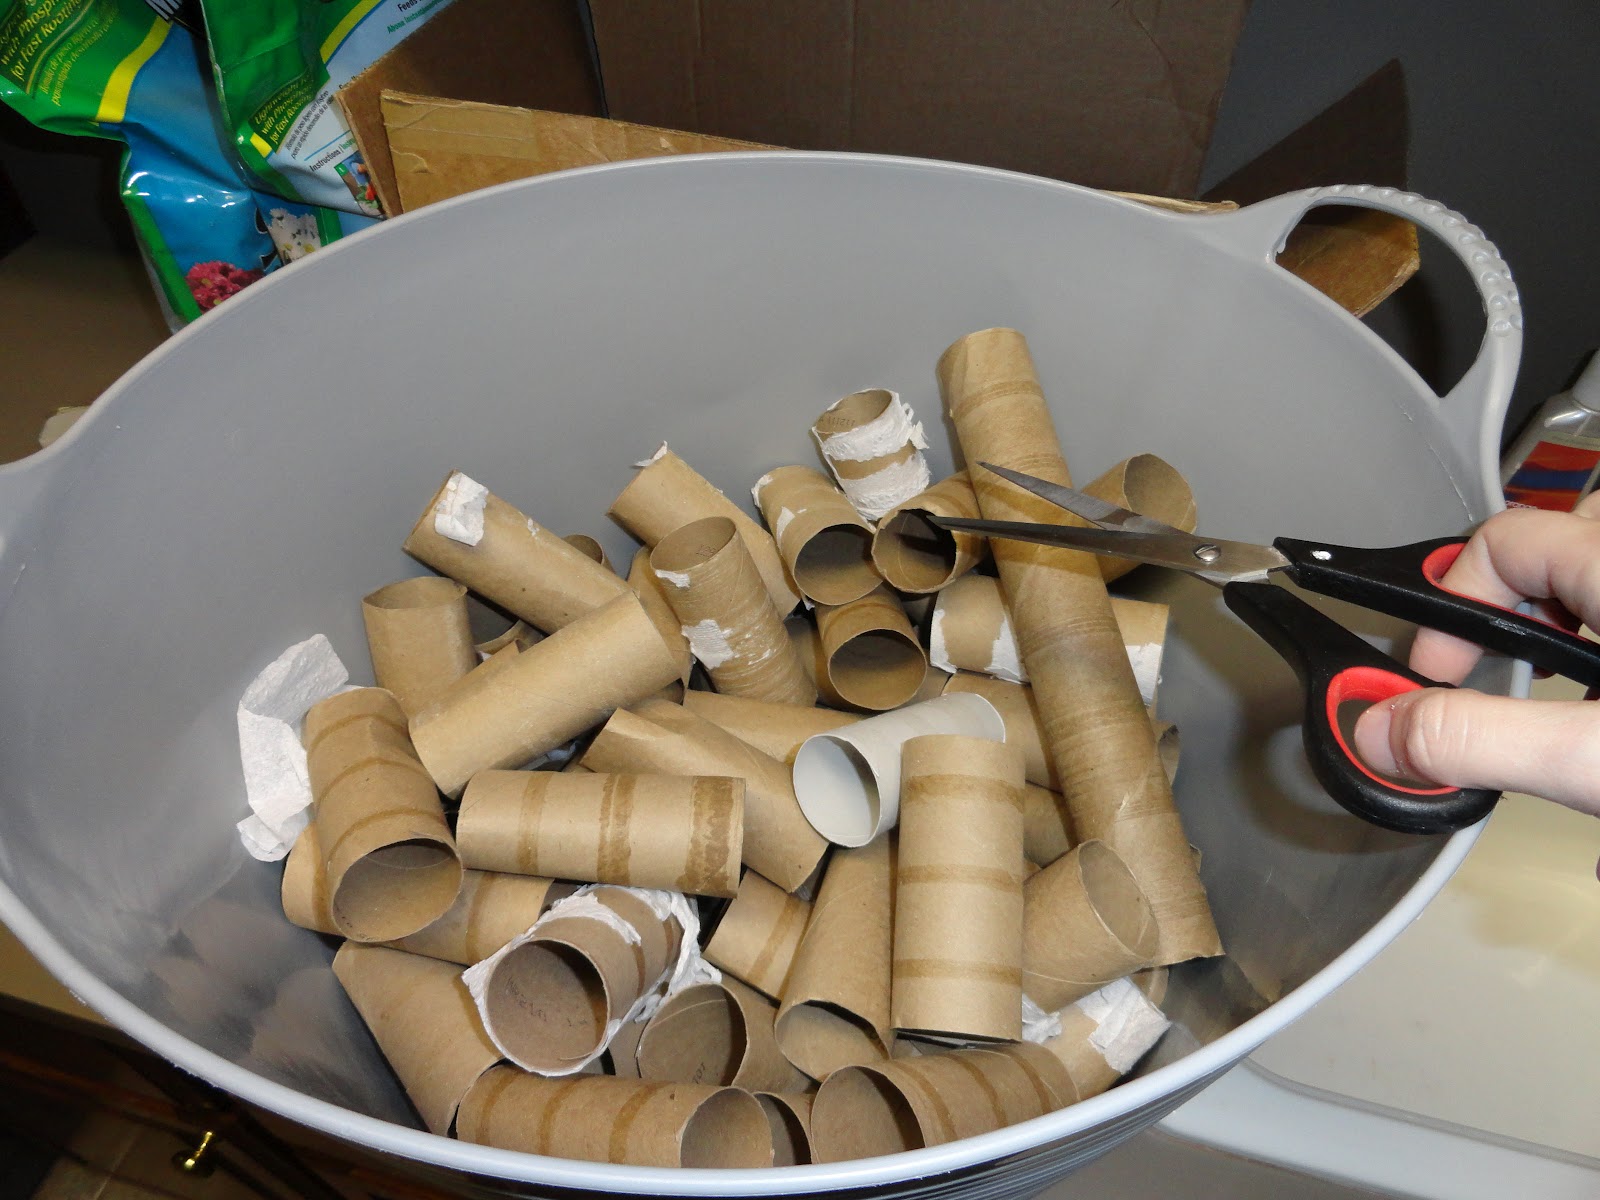
I've seen plenty of websites about using toilet paper rolls to start your seeds.  Supposedly, when it's time to transplant, these rolls can be placed directly in the ground which would help reduce stress on the roots. This makes sense so I thought I'd give it a try.  Luckily my Parents and my Brother's family didn't mind saving their toilet paper rolls for me because I knew I would need a bunch.  It seems everyone does this a bit differently.  Some cut the rolls in half, while others leave them whole, some even cut the bottoms and fold them over to make little bottoms to the roll.  I'm guessing any technique will work fine.  I chose to cut mine in half.


It was really cold outside, so I made this a project for indoors.  Yes, this is a bit messy so keep the vacuum cleaner handy.  I used a bowl of soil at a time and mixed it with water so it would pack better.  I used the wood flats my husband made me and lined the bottoms with some brown paper bags from the local grocery store.


Then I let the two little piggies play in the mud.  They enjoyed filling the rolls half full with soil and packing it down with their fingers.


Next we will add the seeds!  We had enough to put two in each roll.  If they both come up I can always thin them out later.


After we had the seeds in place we dumped more dirt on top and watered them down good.


Then transported them to our cold frame outdoors where I will patiently wait on them to show themselves.


Only time will tell if this was a success.  Grow little seeds Grow!

Saturday, February 4, 2012

Fits Like A Glove


My Hot Box is feeling empty inside so I plan on filling it up with flats and flats of seeds!

The size of my hot box allows for 6 fabulous flats.  These are made from inexpensive fence pickets.  You could use some old ones if you have some lying around your home, but unfortunately, I didn't have any so Lowes took some more of my money.


Voila!  6 Flats! They will fit like a glove in my new Hot Box!

Building the Cold Frame


February is here and spring is approaching fast. I want to try my hand out at growing from seeds instead of spending the $ on the grown plants at the store.  I realize my initial investment this year is more than what I'd like to have spent but once these things are built and done, the following years should be inexpensive.  I toyed with the idea of keeping seeds in my garage and growing them there with a heating system but it all sounded like a pain.  The idea of a Cold Frame sounded cool to me.  My husband could build one of these No problem-o.  There are tons of designs and ideas on the web.  I liked the idea of using either old windows for the lid or a door.   We lucked out and found this old door at this place downtown called B&B Sales which is one of the most interesting places I've ever shopped.  Three floors of old hardware and just stuff everywhere.  We purchased this old door for $40 and then bought some inexpensive fence panels to make some seed bins.  Yea, I know you could use just about anything to start your seeds in, but I wanted something that was size specific for my Cold Frame.


Mock Up Build in the Shop


Lots of measuring and cutting, holding, repositioning, cutting again..and so on
Carpenter for a husband is a bonus.


Now that's looking real good.


Cut circles out and filled the old door handles.  
Then added two pulls so that it's easy to  open and close.


Time to move it out to the garden location and install


This is way better than I had imagined.  
I can see my cold frame bringing life to a many of seed.


Hey, what the heck is that?

Oh that's just a weed.


I still need to add a seal around the edge to help keep the heat in and maybe a latch of some sort just in case we get some tornado like winds.  The glass is tempered but I would prefer they not get broken.  This is Oklahoma and I do not trust Mother Nature.  

Now it's time to build some flats to put in my cold frame that will hold my seeds.


The Revenge of the Garden Rookie

I made the decision that my family needed a garden.  With the growing prices of food and a chance of a zombie apocalypse around every corner, the thought of being able to provide some homegrown nutrition to my family became very appealing.  


My Grandparents have long passed away but as a kid I remember the visits to their home and the excitement to get to go out to the garden and explore.  I loved the smell once I was in the garden and getting to break beans in a bowl with my Grandmother was the highlight of my trip. I should also mention that my Grandfather ate vegetables his whole life and was able to live on his own and take care of himself all the way up to age 99!  Let the gardening begin!


Now for the truth, I have no clue what I'm doing.  Although I had knowledgable Grandparents on both sides of my family on gardening, I never learned how myself.  I've got a green thumb when it comes to planting flowers and such, but this is my first real attempt with a vegetable garden.  But no worries because with ideas from my husband, Internet and pinterest, I've designed a fool proof plan...I hope. 


1) The first step would be to pick the spot in the yard.  We live on 2 acres and have plenty of room so we aren't limited on size.   The spot we selected was in full sun and close to a water source.  My little Garden of Eat'n.  I can almost see it now.  We chose the spot last fall, right before the grass went dormant.  I wanted to visually see the size of it, so I used a water hose to mark it out.  Then I sprayed the grass with round up so I wouldn't have to deal with fighting the bermuda grass next spring.


Before Round-up


After Round-up

2)   I don't own a rototiller yet but my neighbor does and he was nice enough to let us use it.  I'm not going to lie about this part..tilling up the yard was not easy.  In fact, it really sucked.  The ground was extremely hard because last summer was one of the hottest we had ever experienced and the drought pretty much turned our soil to concrete.  I soaked the area before we started tilling but it was still difficult.  I was really thankful that my husband did most of the work because it was not easy controlling the self propelled tiller.  We went over it a few times at different depths and finally it started to look like a garden.


The only person more excited than myself about this new adventure is my beautiful little girl.  
She can hardly wait to get to spend time with her Mom working in the garden.


3)  Next was to frame out the garden.  I realize this isn't necessary but I wanted it to look nice in the yard and help keep the weeds out.  This would be easier to mow/weed eat around.  In the spring I will stain the wood to match the brick on our home... I don't want it to look ghetto.  Building this frame cost a bit but I know that it will last a long time and I plan on having a garden from now on.  Plus I had a gift card with credit on it for the two trees that died on me this year from the drought from Lowe's so it kind of felt free in a way. Luckily, my husband is very handy with a hammer so he built my border in just a couple hours.  Again, if you don't have rights to a working husband, I highly suggest you purchase one.


When I decided to do this, I knew I was going to need my own way to compost.  I thought about just doing a pile in the corner of my backyard, but the thought of manually taking a shovel and moving it around did not appeal to me...plus the threat of critters getting in it and the smell turned me off.  I wanted it to be as easy as possible.  I found this sweet machine at Sam's Wholesale and liked that it would contain the smell and would be easy to rotate.  They suggest you have two so as one is composting you can be using the other.  I'm broke so I will have to start with one for now and see how it works out.


With my new gadget, I also needed something to put my table scraps in that wouldn't stink up the whole house.  Before, we threw everything away or pushed it down the disposal in the sink.  Not anymore, we are going to try and think differently now.  My kids are already saying things like, "Don't throw that away, we can put that in the composter."  I love it.

Found it on Amazon and it fits nicely under the sink.  
The bags are compostable so at the end of the week I can toss the whole thing 
in the bin outside. Working out just fine thus far....